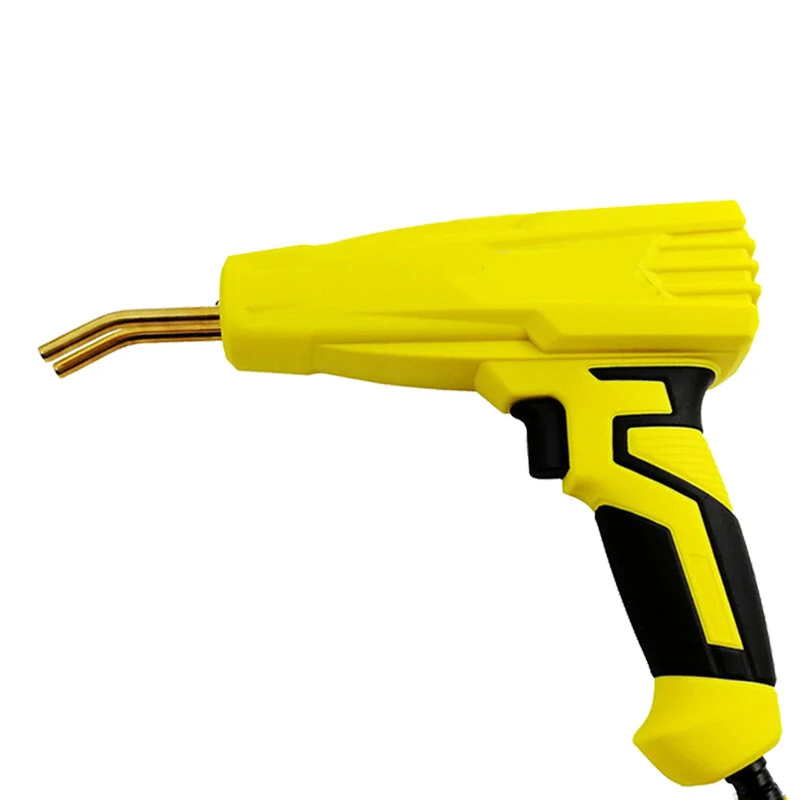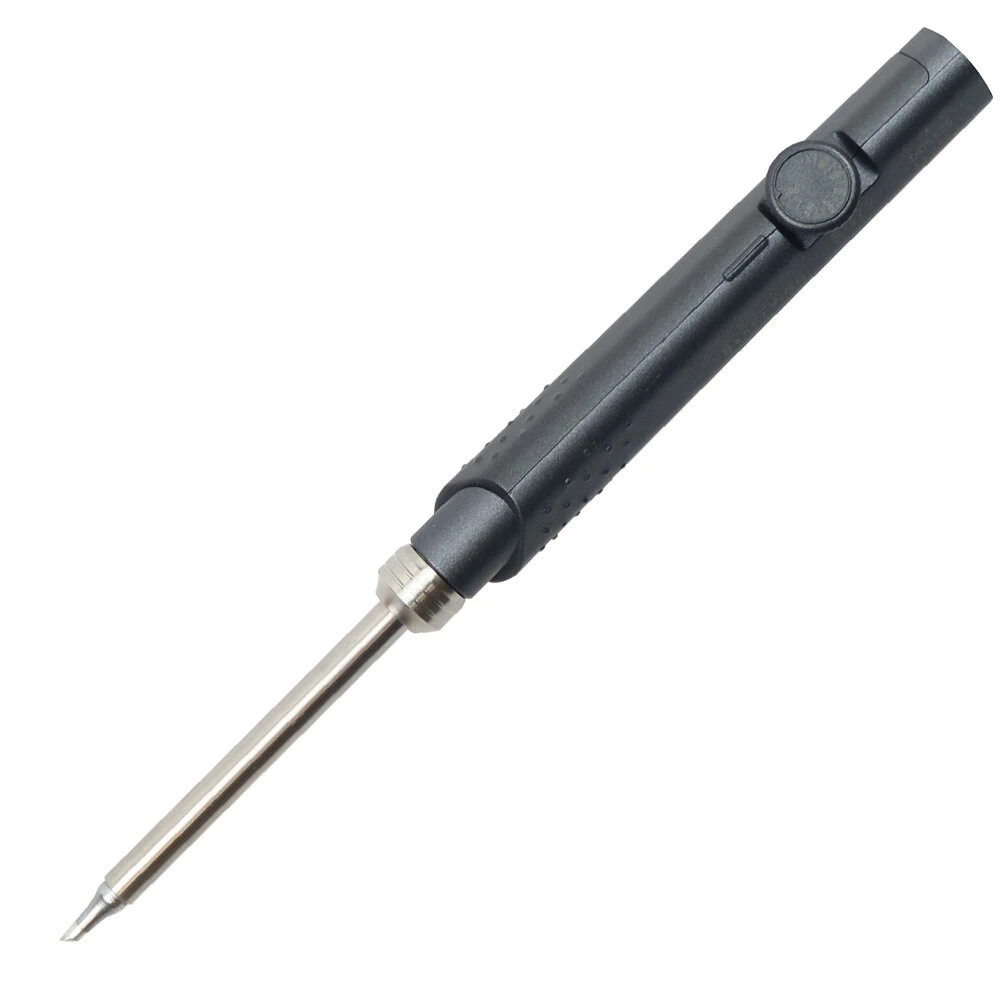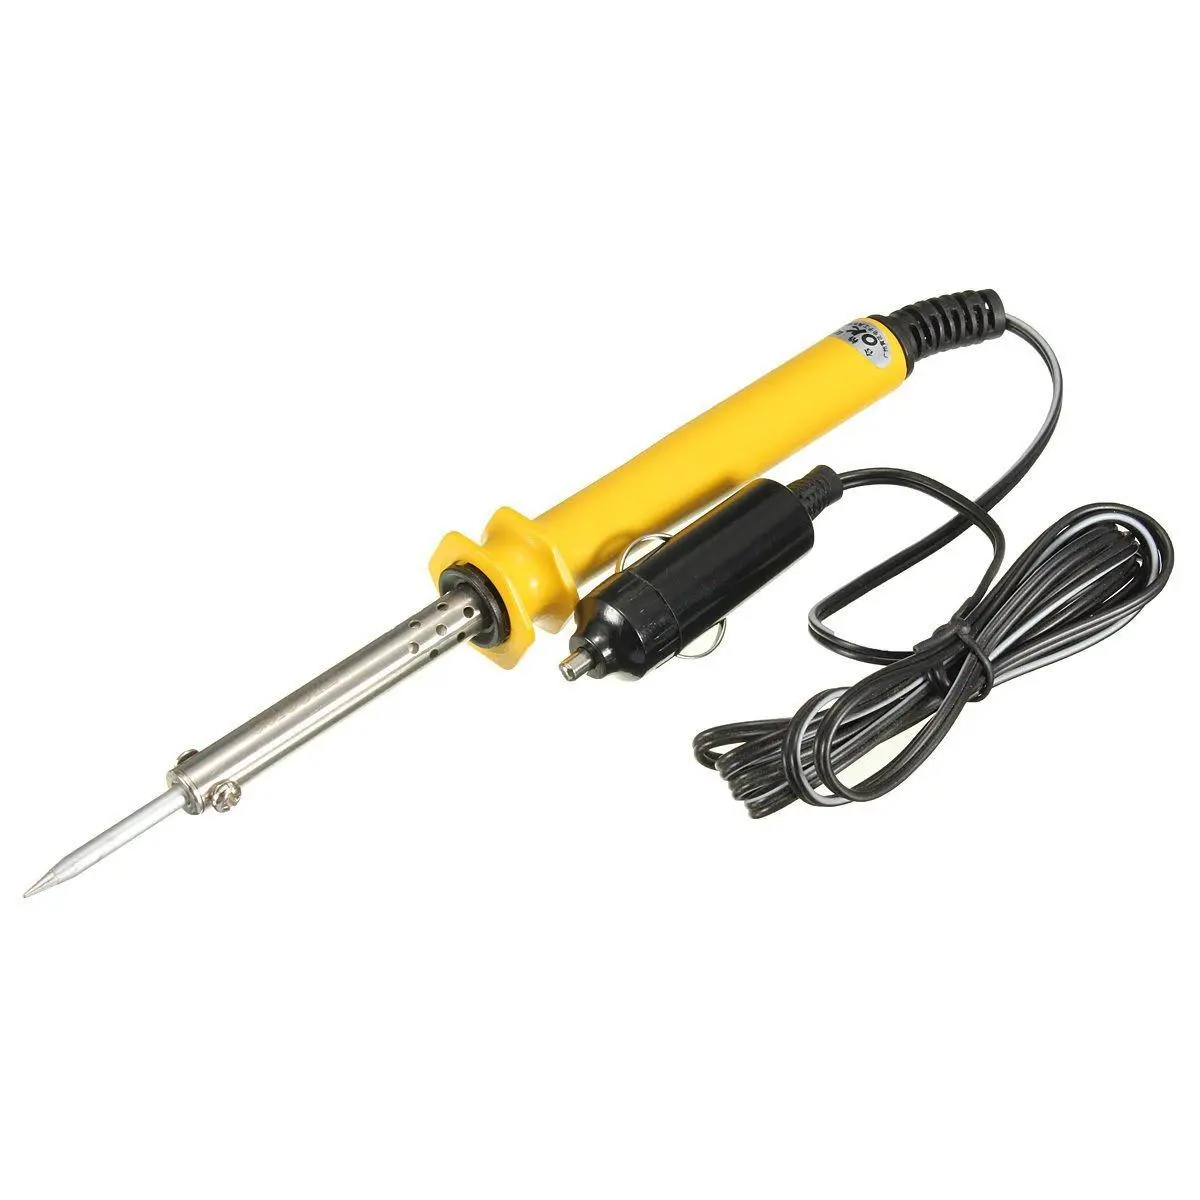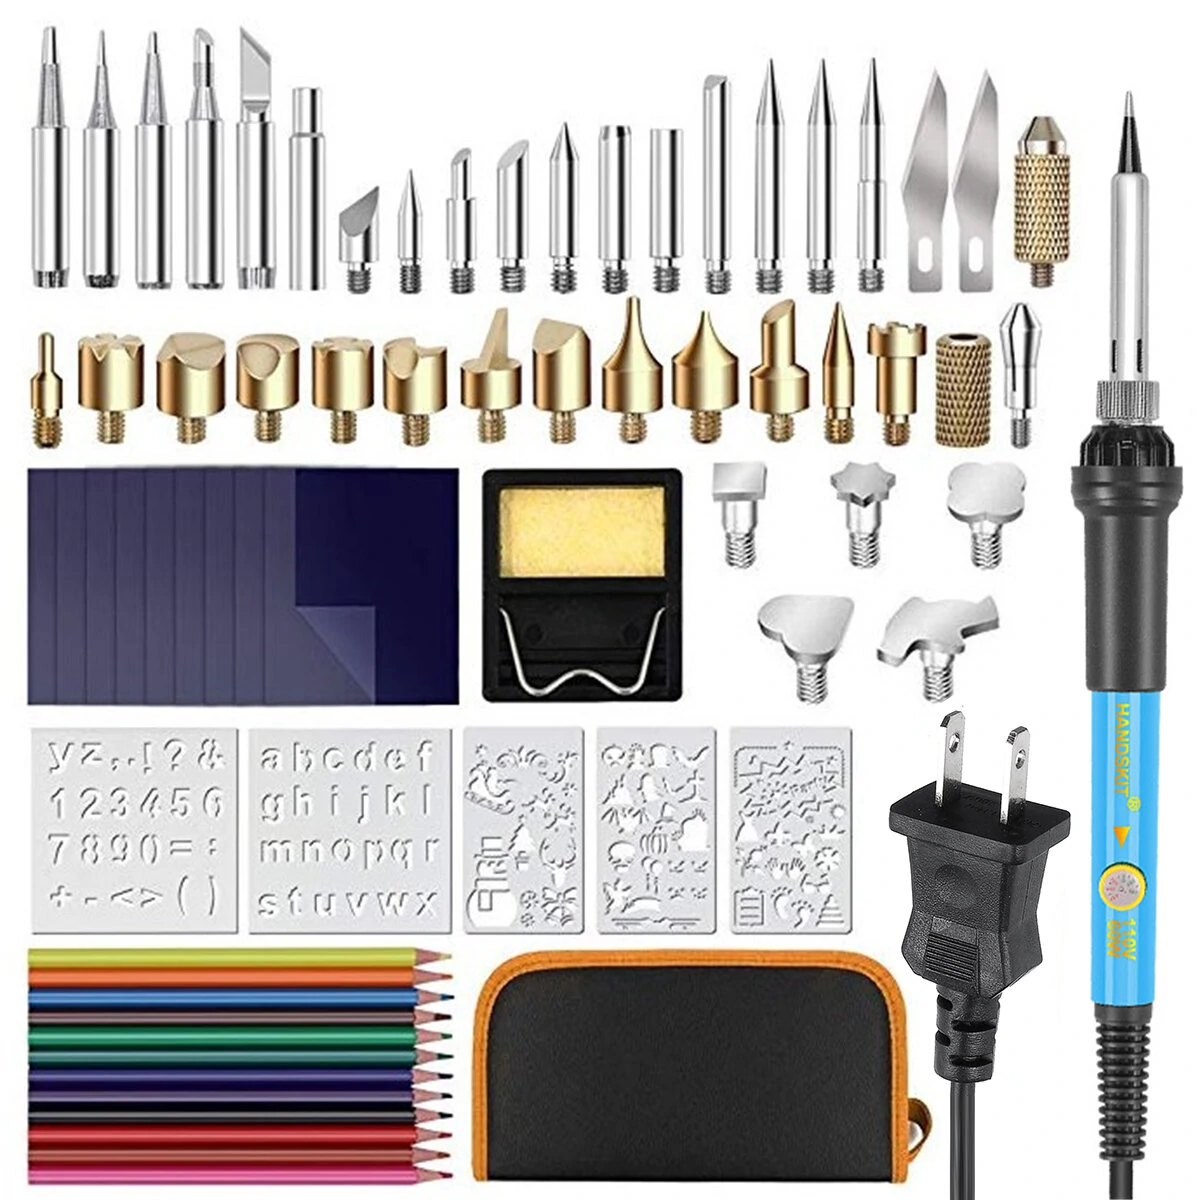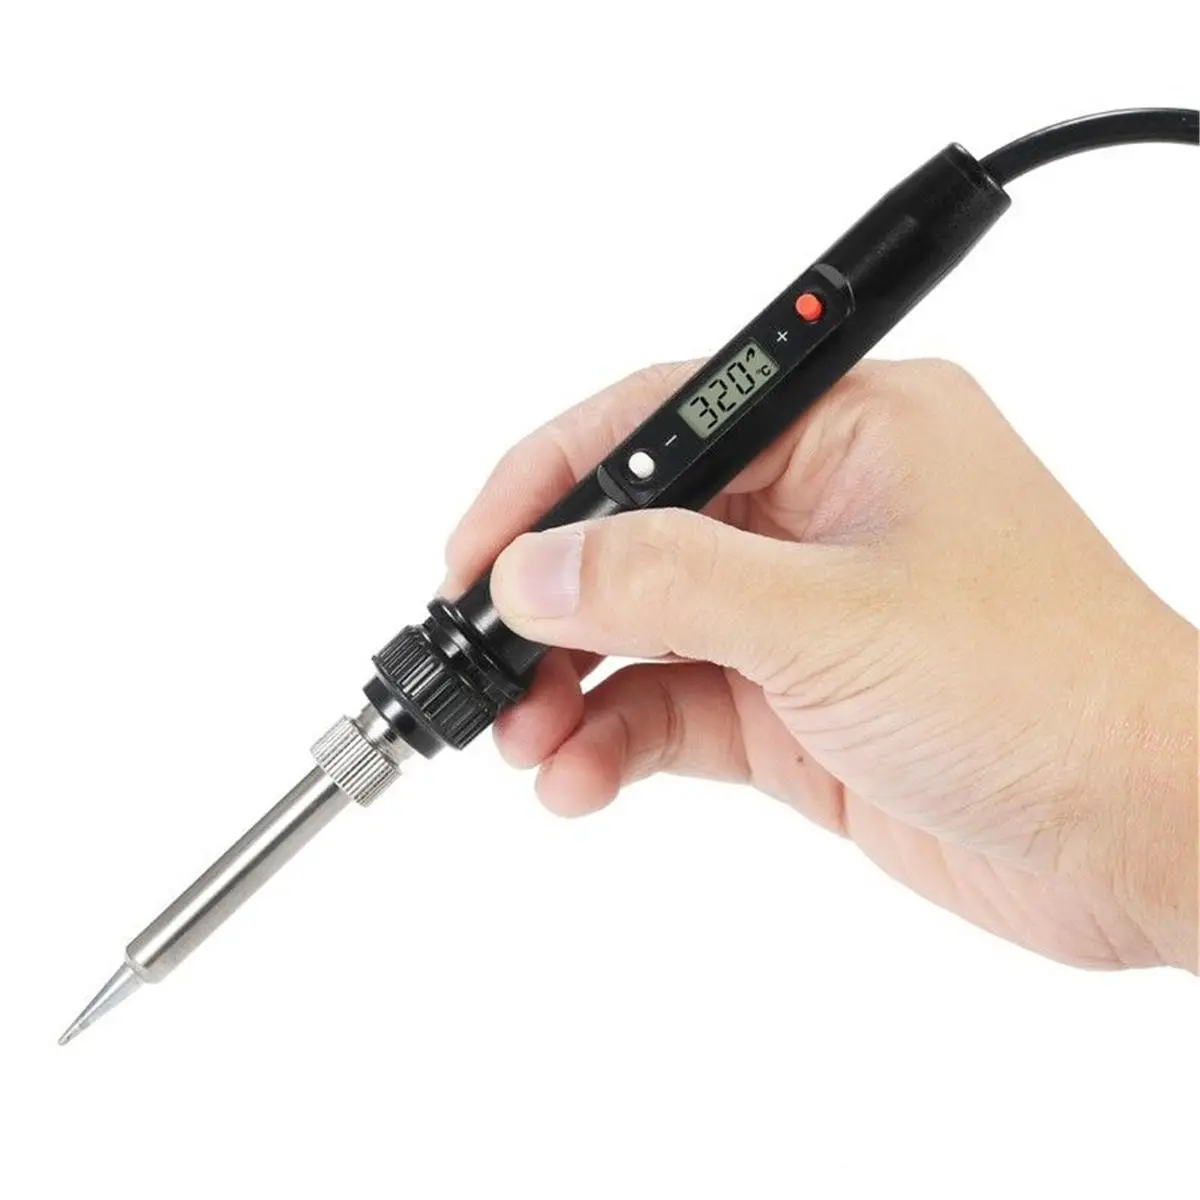
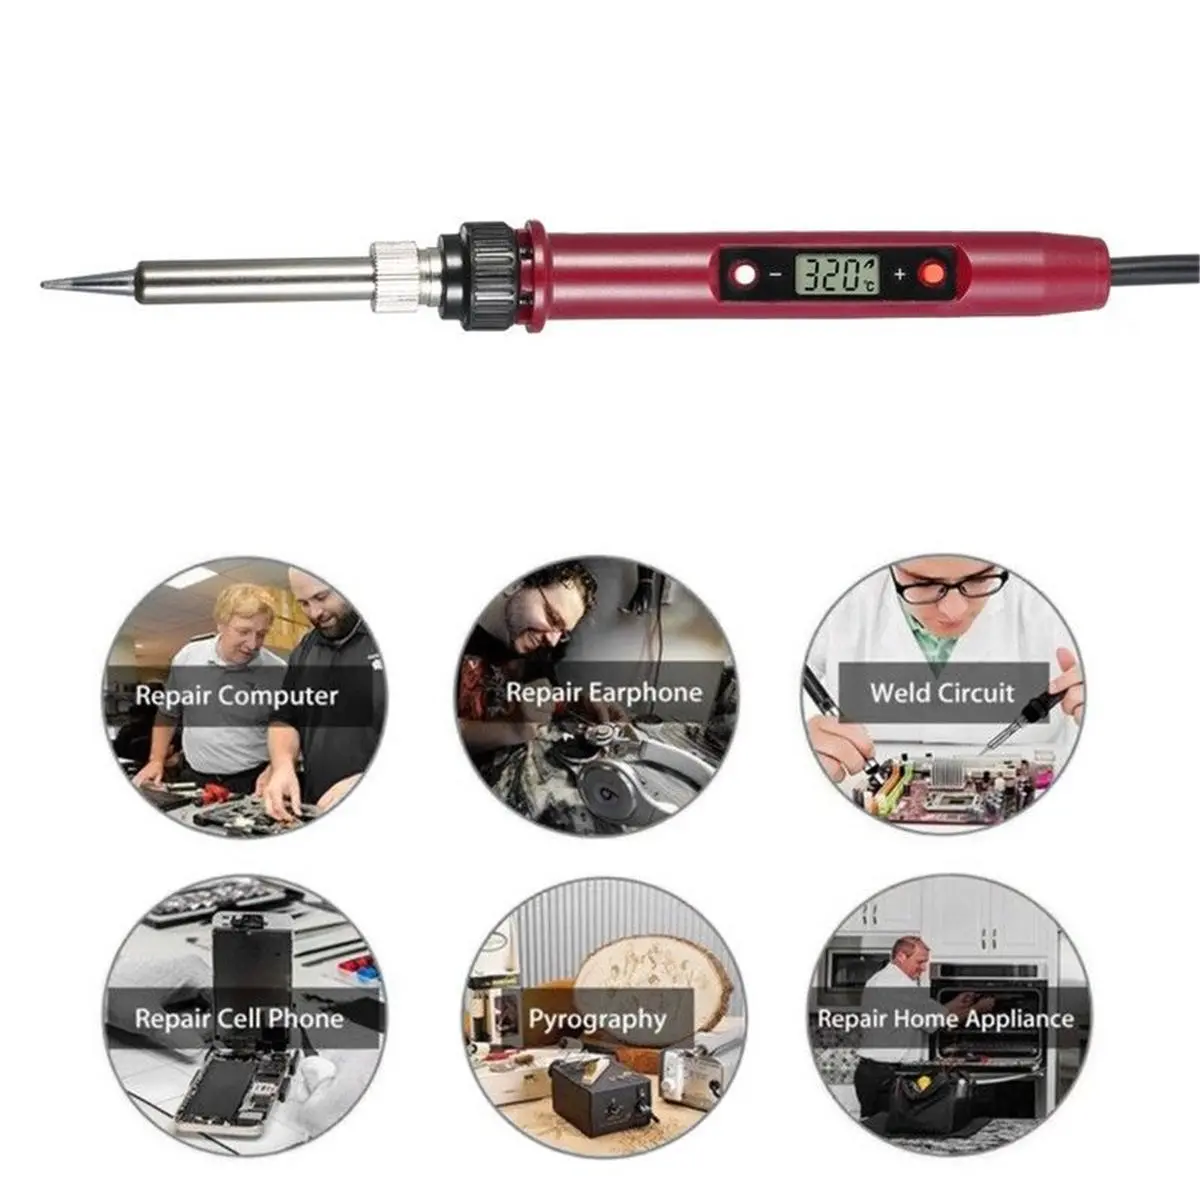
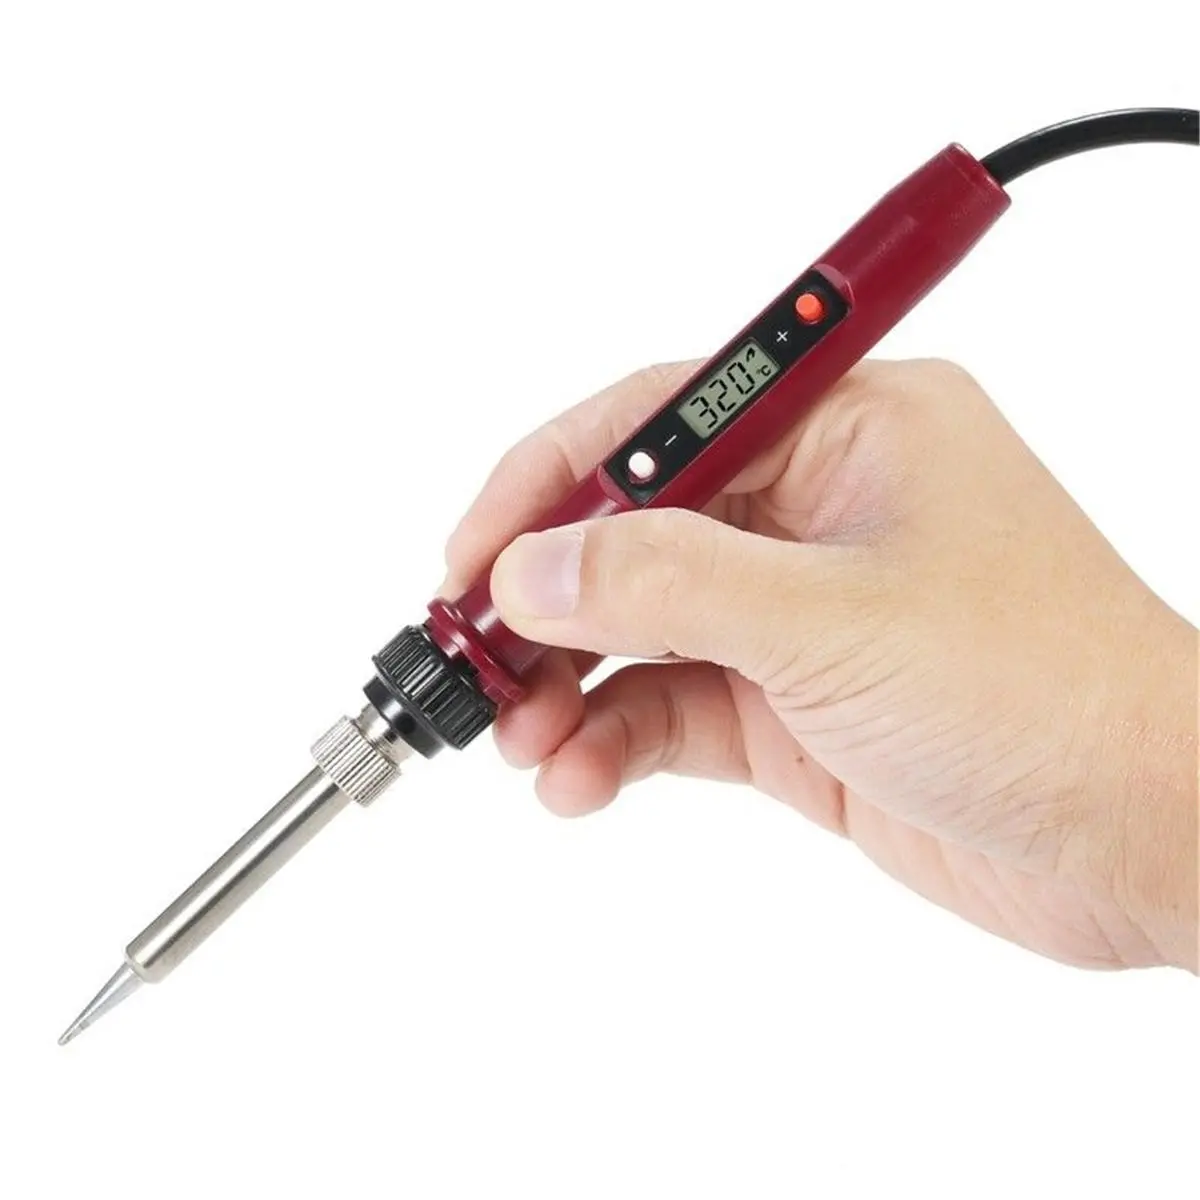
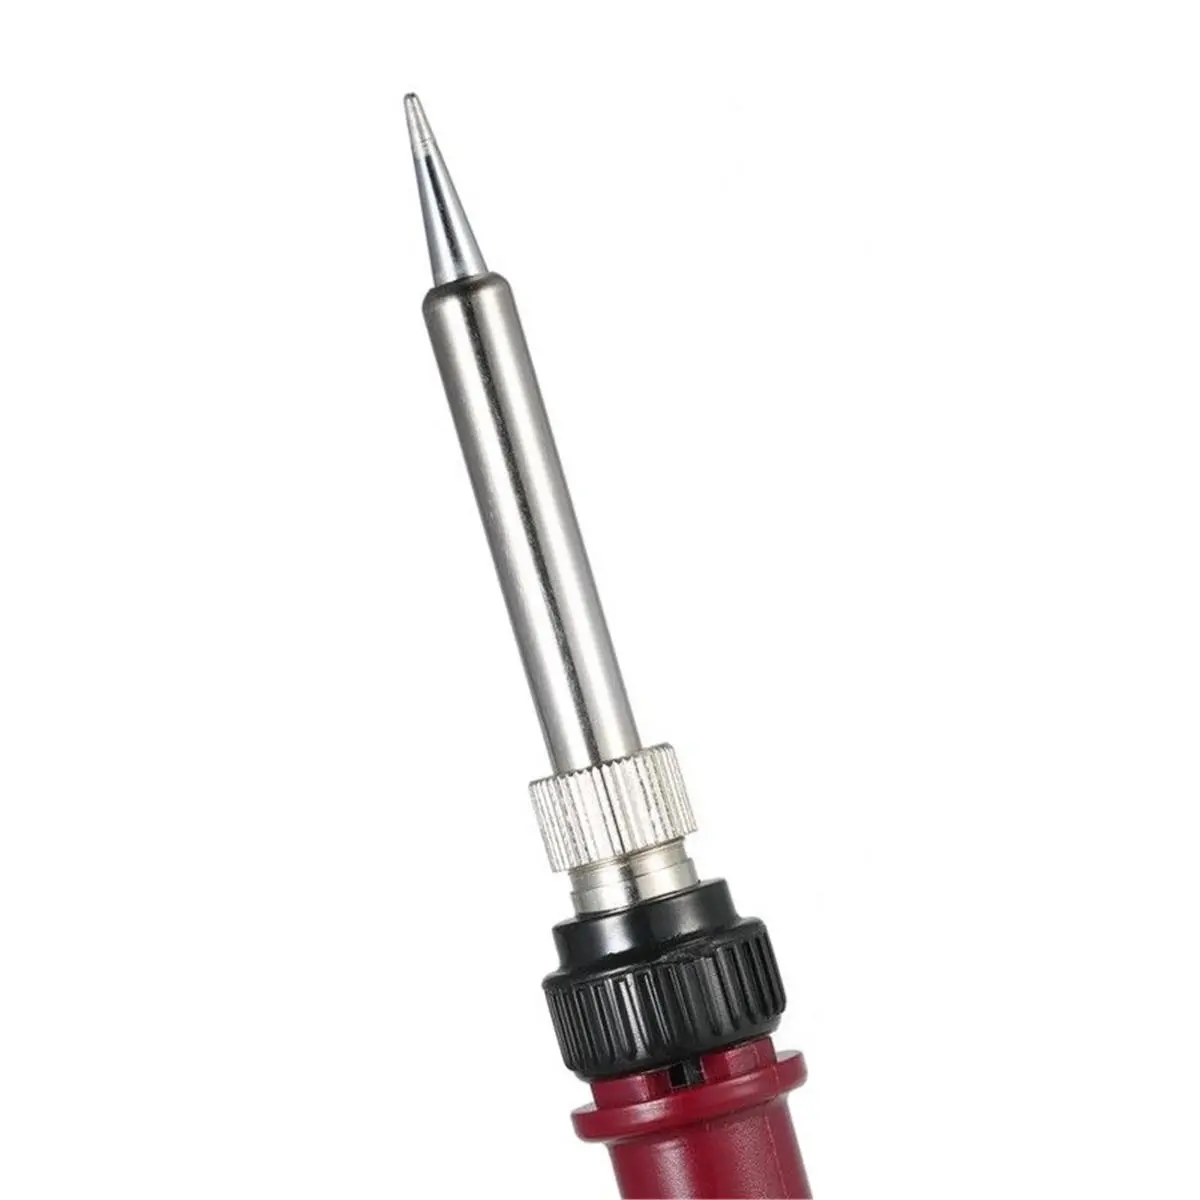
80W Electric Solder Iron Welding Tool - 220V EU Plug | 180-480°C
$22.00
$27.18
-19% OFF
Global Shipping
Easy Returns
Secure Payment
Product Description
Features:Quick Heat: With fast heat-up fast and thermal recovery.
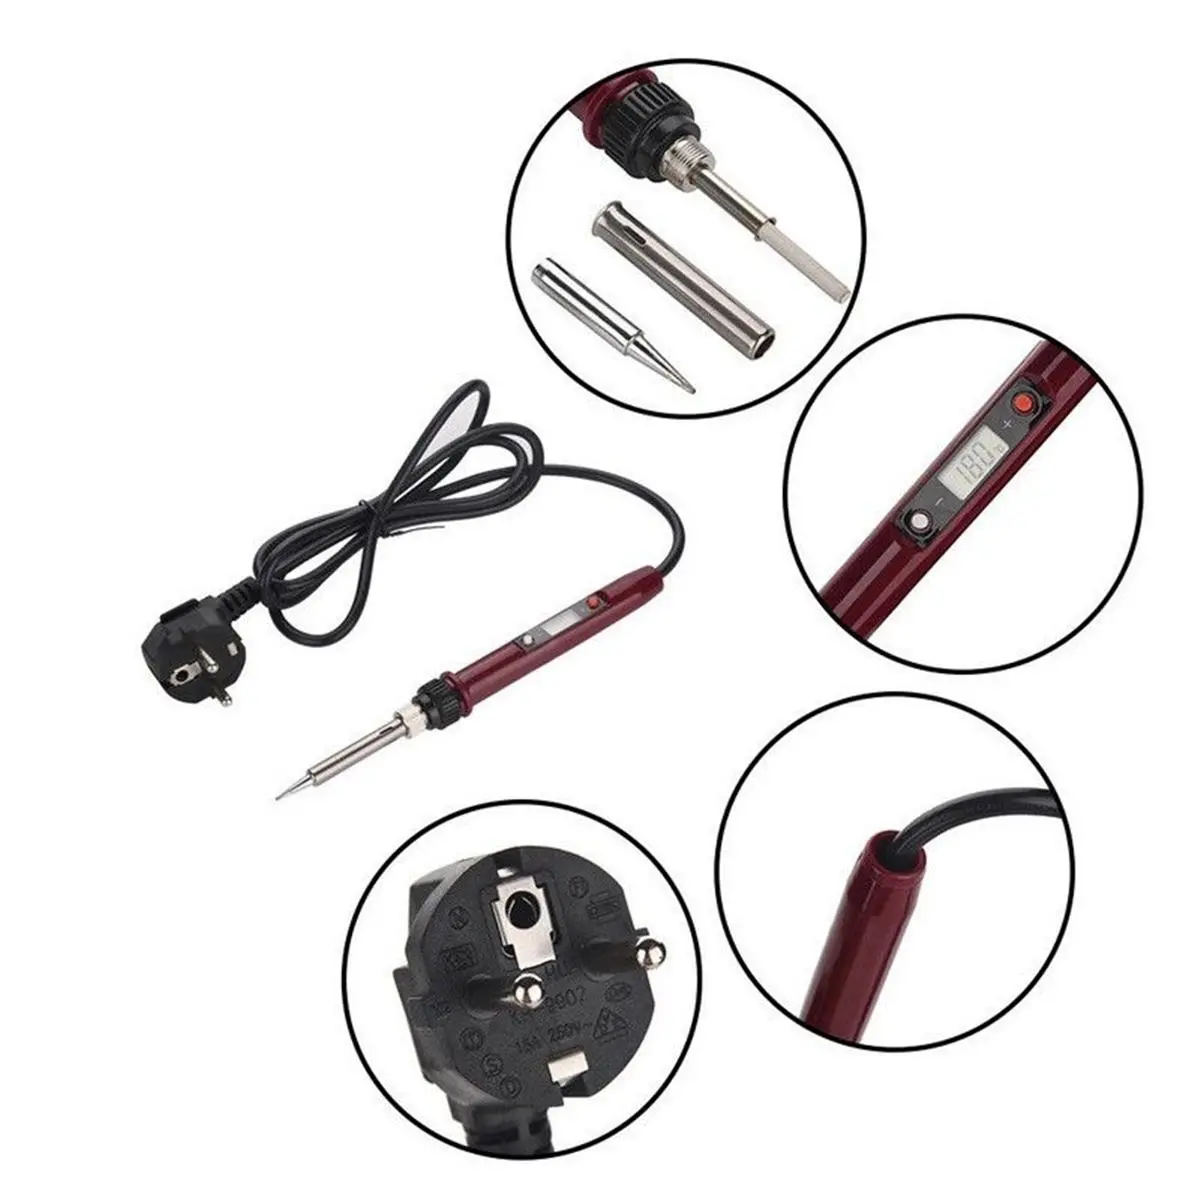
Adjustable Temperature: Set the desired value to meet your welding needs. New Design: Most recent deal with heat dissipation design, comfortable hand feeling for long-term use, patent tail strap line pressing design is safer for welding. LCD Display: LCD digital display to show the temperature clearly. Plug-pull Project Tip: Easy to install and replace the tips, time-saving power and efficient. Safer & More Stable Performance: The circuit board is double-sided gold plated. Lightweight and Portable Size: You can start welding anywhere at any time without feeling tired for a long period of operation. Longer Life with High Quality: Heat-insulated and non-slip silicone handle provides safe and comfortable operation. Specification:
Color: Black,Red Voltage: AC220-240V Power: 80W Material: Plastic + Stainless Steel + High Temperature Silicone Display: LCD Temperature Range: 180~480?? Temperature stability: ?? 10?? Type of heating: Internal heating Soldering Iron Size: 19.5cm x 1.6cm Instruction:
Press the "+" button once to increase 1??; press and hold it to increase temperature continuously. Press the "-" button once to reduce 1??; press and hold it to reduce temperature continuously. The newly set temperature will be saved after 3 seconds, and iron will keep the temperature for next time powering-on. When "?H" or "??" symbol flashes, it means the heating core has not reached the set temperature. Temperature Correction:
1. After 90 seconds of powering on, put the soldering tip on a thermometer, and a moderate amount of solder on the soldering tip; make the test point and the soldering tip have good contact (recommended soldering iron temperature is 300 ~ 350?? for correction) 2. When thermometer displays a stable temperature(about 2 ~ 3 seconds), write down the temperature. 3. Move soldering iron away from thermometer; press the "-" and "+" button at the same time to enter temperature correction interface. 4. Input adjustment quantity. Adjustment quantity= set temperature - measured temperature (see example)
5. Press the "-" and "+" at the same time to exit temperature interface, finished. Example 1, when setting temperature is 320 ?? while measured temperature is 312 ??, the correction steps are as follows: a. Press the "-" and "+" at the same time to enter temperature correction interface. b. Press the "+" button till the LCD displays 8??. c. Press the "-" and "+" at the same time to exit temperature correction interface Example 2, when setting temperature is 320 ?? while measured temperature is 330 ??, the correction steps are as follows: a. Press the "-" and "+" at the same time to enter temperature correction interface. b. Press the "-" button till the LCD displays -10??. c. Press the "-" and "+" at the same time to exit temperature correction interface Package Included:
1 x Electric Welding Iron 1 x Power Adapter (According to different countries, we will send corresponding adapter.) 1 x Use Manual
Detail Pictures:
Customer Reviews
No reviews yet. Be the first to review this product!